
How to Install an LED Acrylic Display Box Wall for Your Collectibles
If your figures are taking over the desk or your sneaker collection is still in stackable drop-front boxes, an LED acrylic display box wall is the upgrade that turns storage into a room feature. It is a grid of transparent, lighted acrylic boxes mounted on the wall — each one dust-free, magnetically sealed, and backlit so your collection stays visible day and night.
This guide is written for collectors: sneakerheads, figure collectors, Funko fans, and anyone building a serious display wall at home. The setup uses the LED Acrylic Display Case – Stackable Lighted Box with Magnetic Closure (26ISHM0606). For the full product range, see The Complete Guide to LED Acrylic Display Boxes.
Table of Contents
- Why an LED Wall Beats Open Shelves
- What You Need Before Starting
- Step 1: Plan Your Collection Wall Layout
- Step 2: Mount the LED Back Panels
- Step 3: Route Power with a 1000W USB Charging Station
- Step 4: Power-Test Before Loading
- Step 5: Stack the Boxes and Load Your Collection
- Sizing & Specs at a Glance
- When to Go Custom: Color & Logo
- FAQ
- See It in Action: Clap-Activated Demo
Why an LED Wall Beats Open Shelves
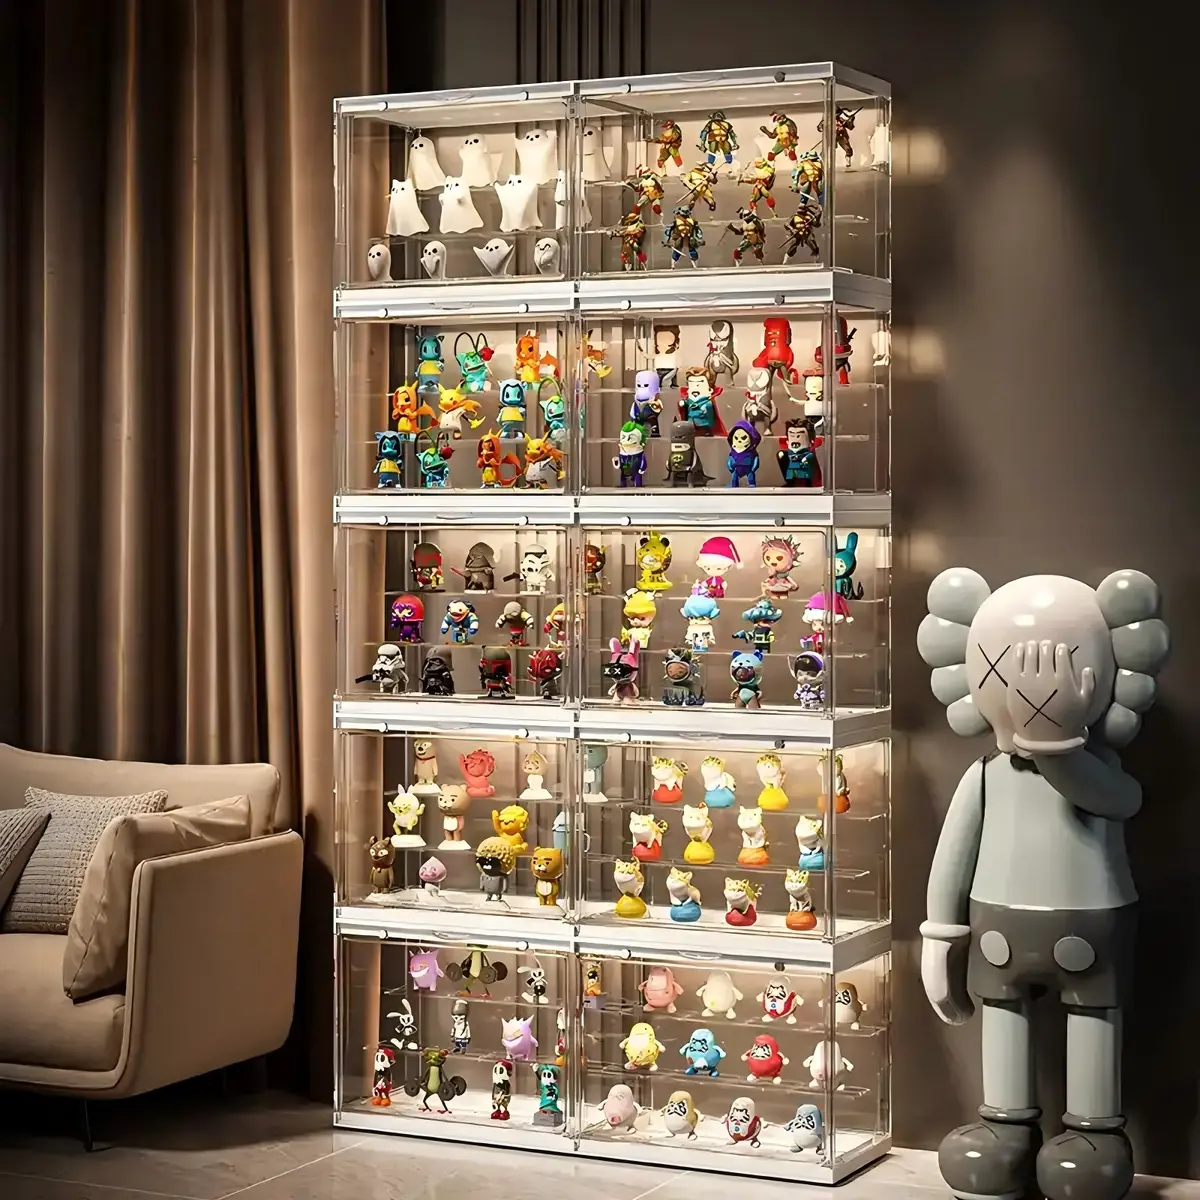
Open shelves collect dust, fade under uneven room light, and make a collection look cluttered. A wall of stackable LED acrylic boxes solves all three problems: sealed magnetic doors keep dust out, built-in back panels illuminate every item evenly, and the modular grid lets you expand one box at a time as your collection grows.
What You Need Before Starting
Every LED box wall needs exactly three components: the display boxes, the LED back panels that snap behind them, and one high-wattage USB charging station to power the whole grid. No electrician, no hardwiring, no custom cabinetry.
- Display boxes — transparent acrylic, stackable, with magnetic front closure
- LED back panels — pre-mounted light panels with daisy-chain USB passthrough
- One 1000W USB charging station — a 10-in-1 hub that powers the entire wall from one outlet
- Basic tools — spirit level, drill, measuring tape
The main reference model is 36×22×27 cm, but the same system is available in multiple sizes for sneakers, handbags, and smaller figures. The standard finish is fully transparent; colored frames and logo printing are available on custom orders.
Step 1: Plan Your Collection Wall Layout
Measure your wall and sketch the grid before drilling. A few collector-specific tips:
- Height: place the bottom row at seated eye level (roughly 80–100 cm from the floor) so you can see every detail without standing up
- Spacing: leave a few centimeters of clearance between rows so the magnetic front doors can swing open fully and you have room to reach in when arranging pieces
- Power: keep the charging station within cable reach of one wall outlet, usually near the bottom-left of the grid
- Weight: each box + panel is under 2 kg, so standard drywall anchors handle a full wall without issue
Step 2: Mount the LED Back Panels
The back panels are the structural backbone. Mount them flush to the wall first; the boxes snap onto them afterward.
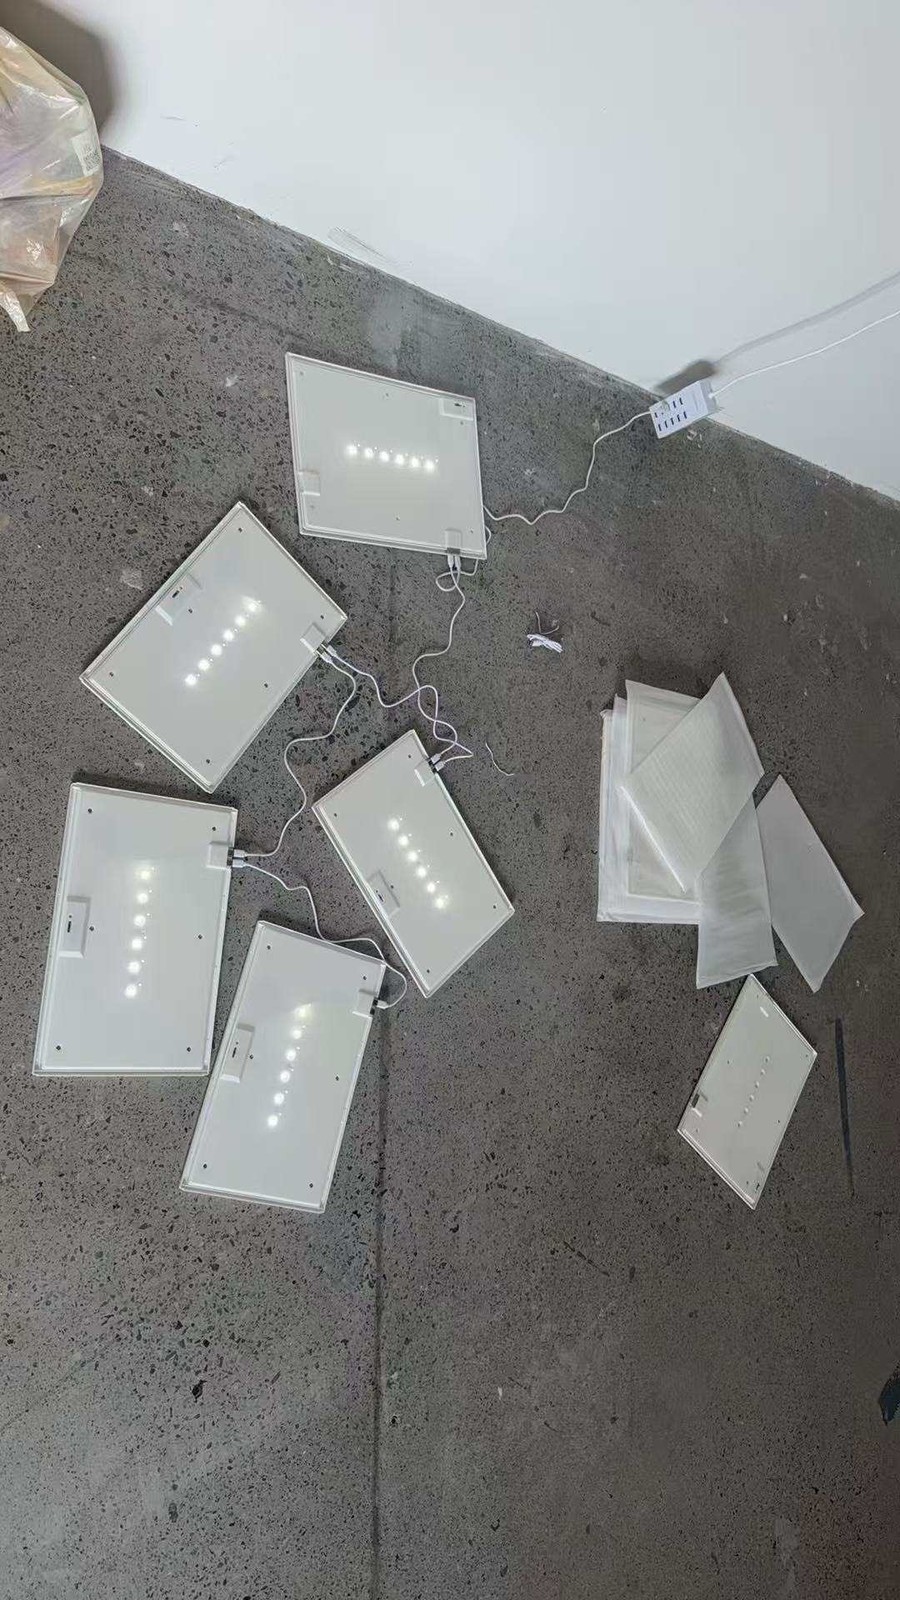
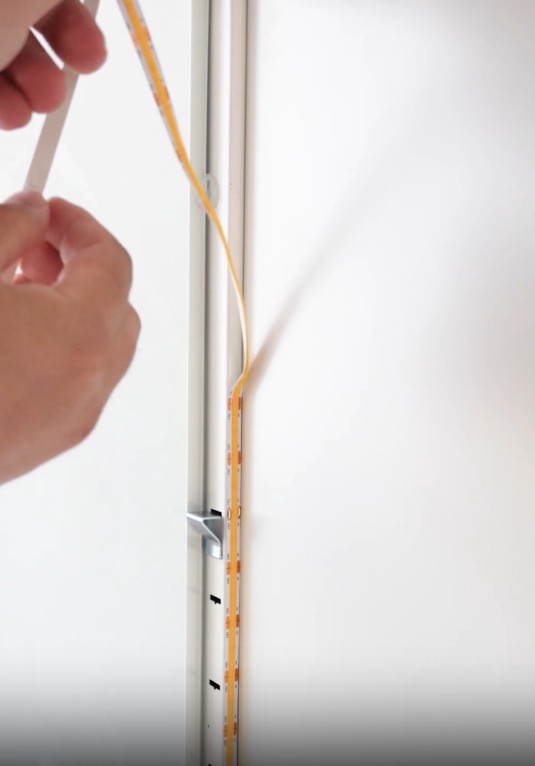
Work bottom-up, one column at a time. Level the lowest panel, then stack upward — the panels register off the one below. If your kit uses channel-mounted LED strips instead of pre-assembled panels, press the strip into the aluminum track until it clicks locked.
Step 3: Route Power with a 1000W USB Charging Station
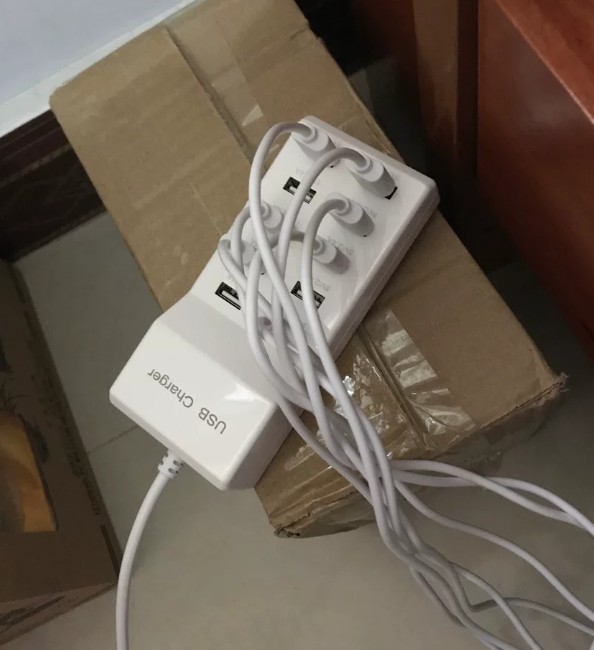
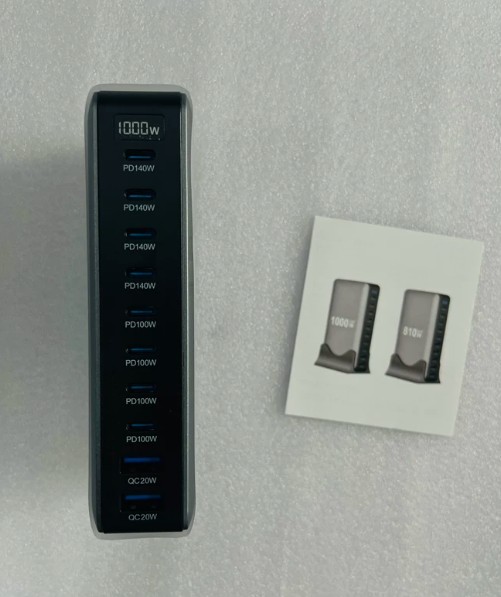
This is what removes the electrician from the job. Instead of hardwiring individual fixtures, the whole wall runs off one 1000W, 10-port USB charging station plugged into a normal outlet.
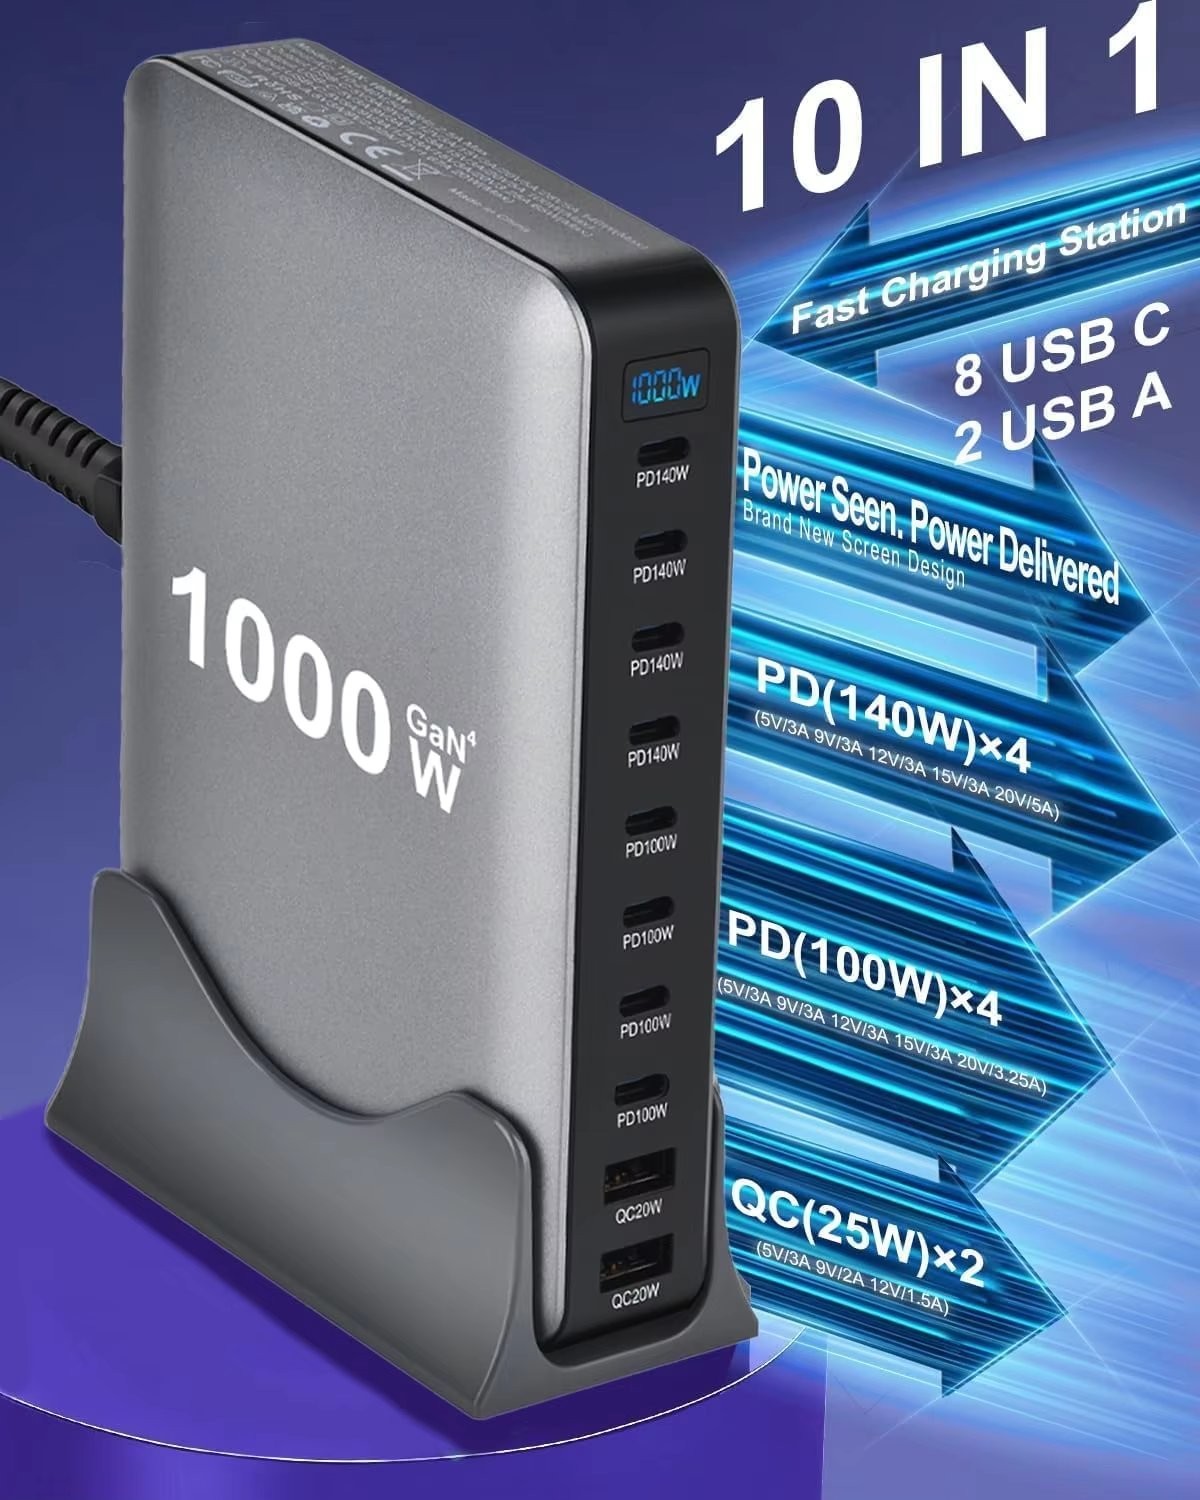
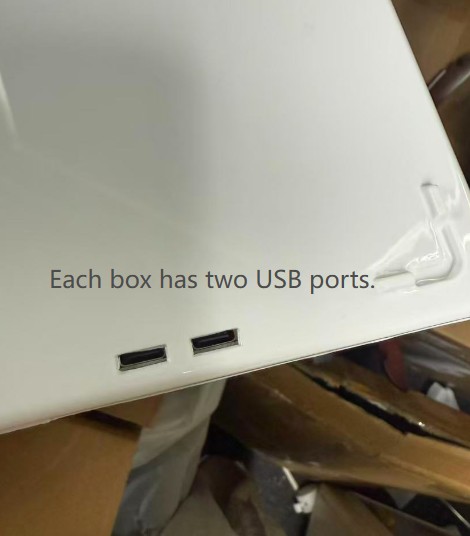
Each LED back panel has two USB ports — one input, one output — so panels daisy-chain in series. One charger port feeds the first panel in a column, and the chain carries power down the line.
Rules for a clean install:
- One charger port per column — a 10-port station runs up to 10 columns
- 1000W total output gives roughly 100W per port; a column of LED panels draws far less, so you have plenty of headroom
- Route cables behind the bottom row and secure with adhesive cable clips to keep the wall looking clean
Step 4: Power-Test Before Loading
Always light the wall up empty. Plug in the charging station, confirm every panel glows, and check each daisy-chain joint before your collection goes in.
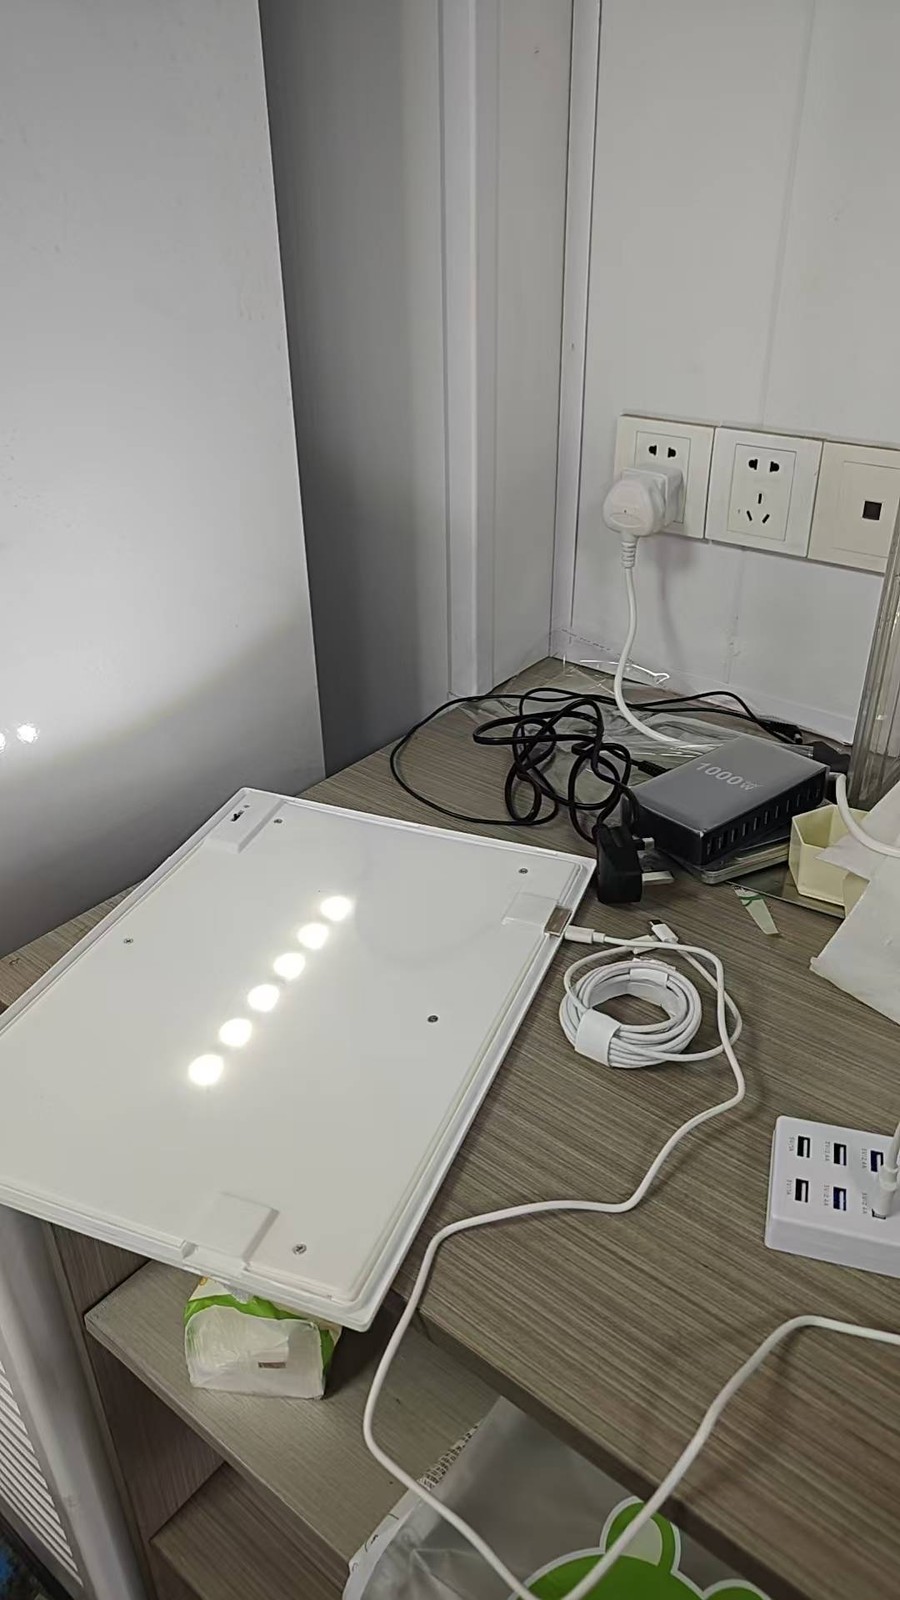
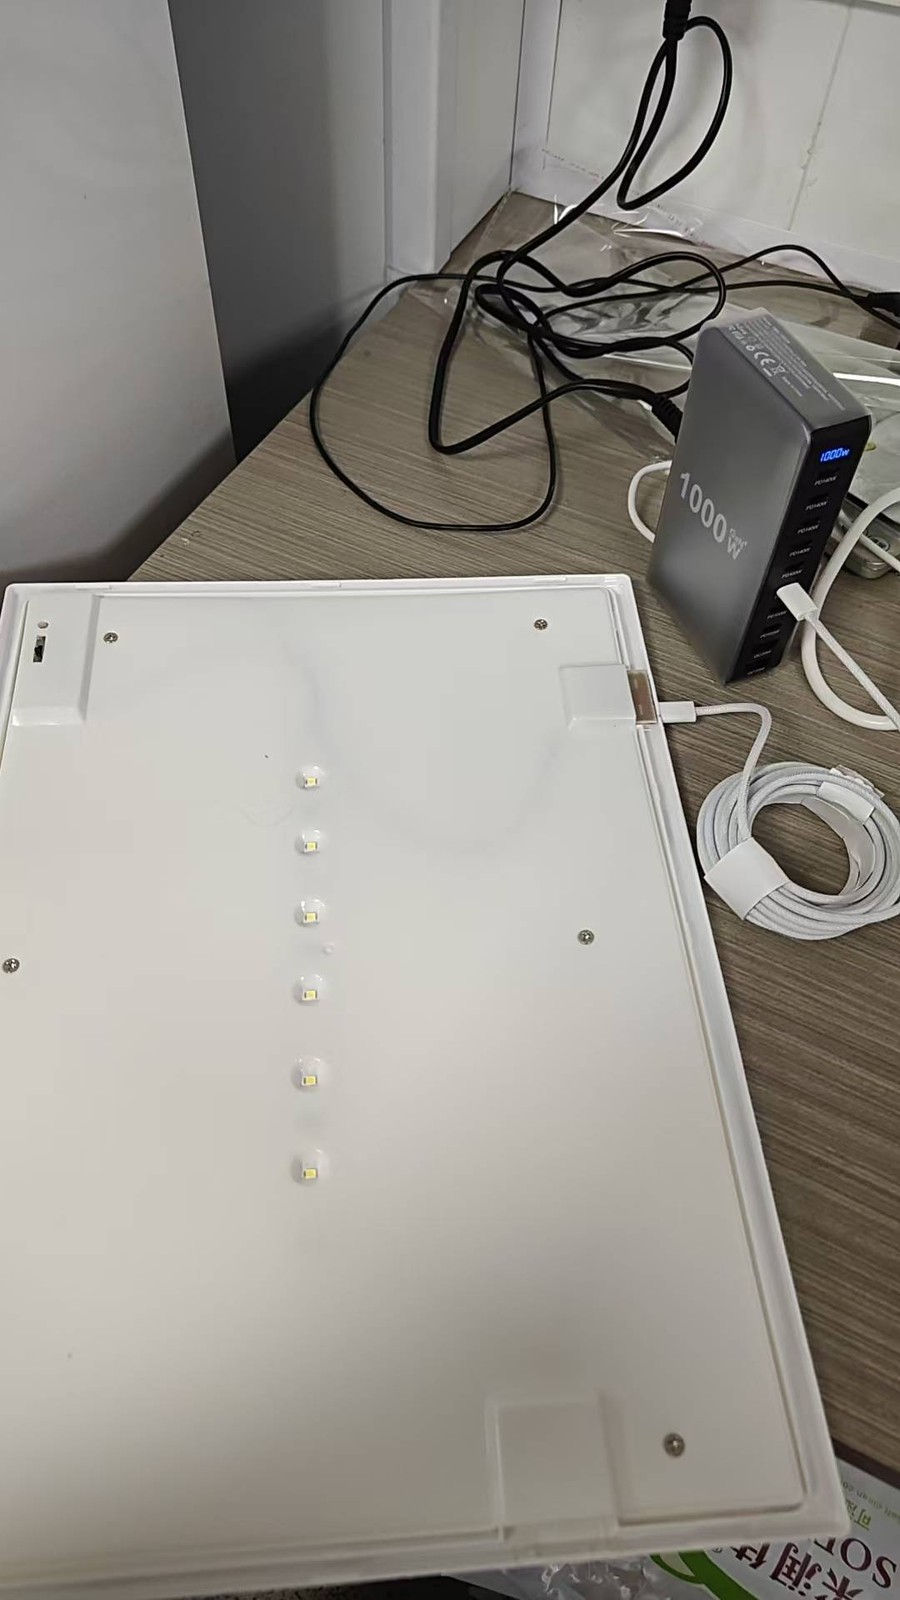
If one panel stays dark, the cable is usually reversed (input/output swapped). Swap it and re-test — it takes seconds. Finding this now beats unloading a finished wall later.
Step 5: Stack the Boxes and Load Your Collection
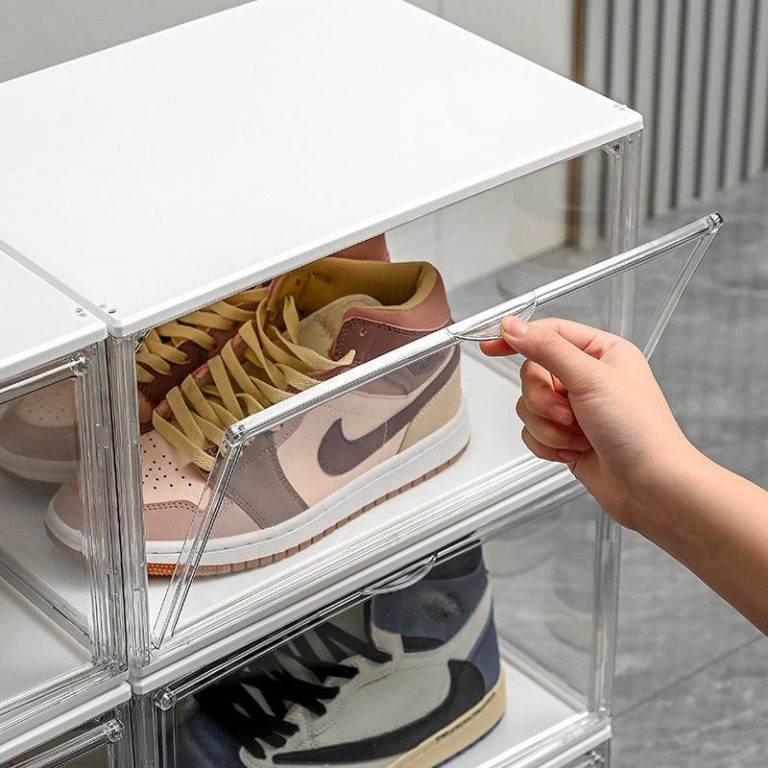
With the panels lit, the transparent boxes snap into place and stack vertically. Magnetic front closures mean you can rearrange or dust the contents with one hand — no screws, no tools.
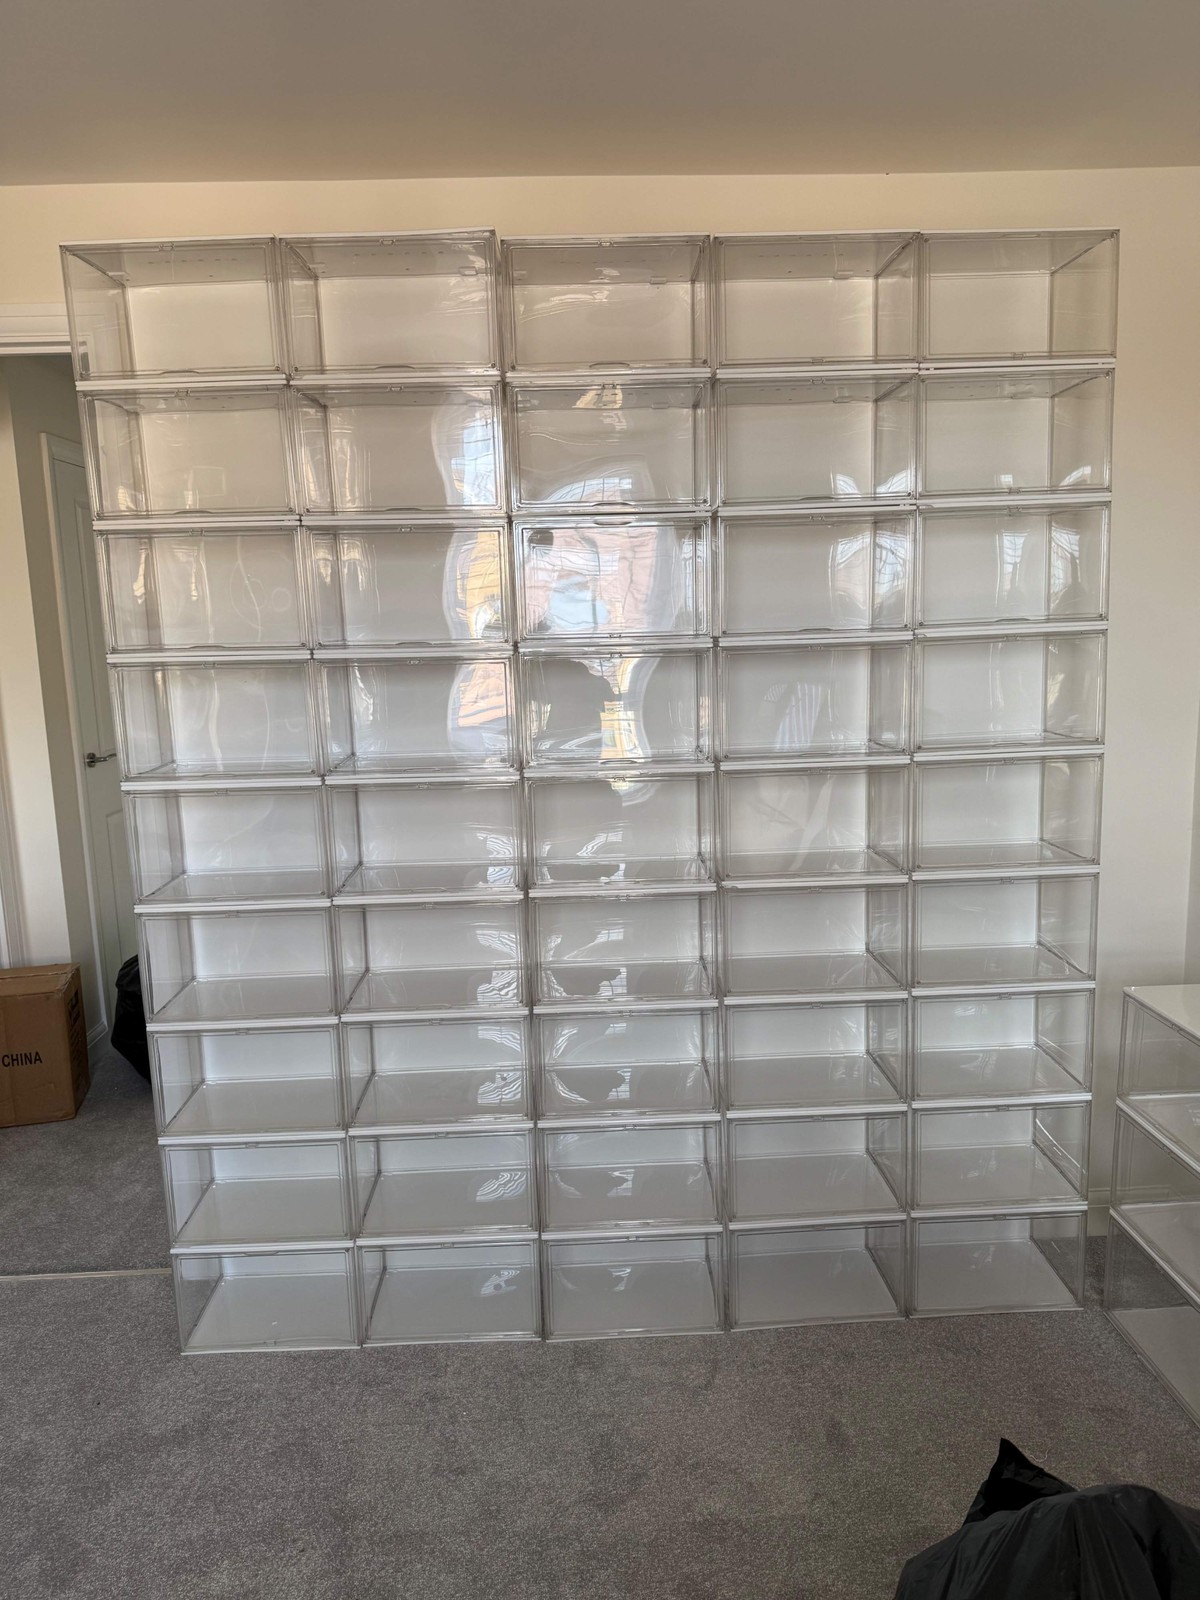
An empty wall shows the grid clearly: every box is the same size, the spacing is uniform, and the glow is even across the whole surface.
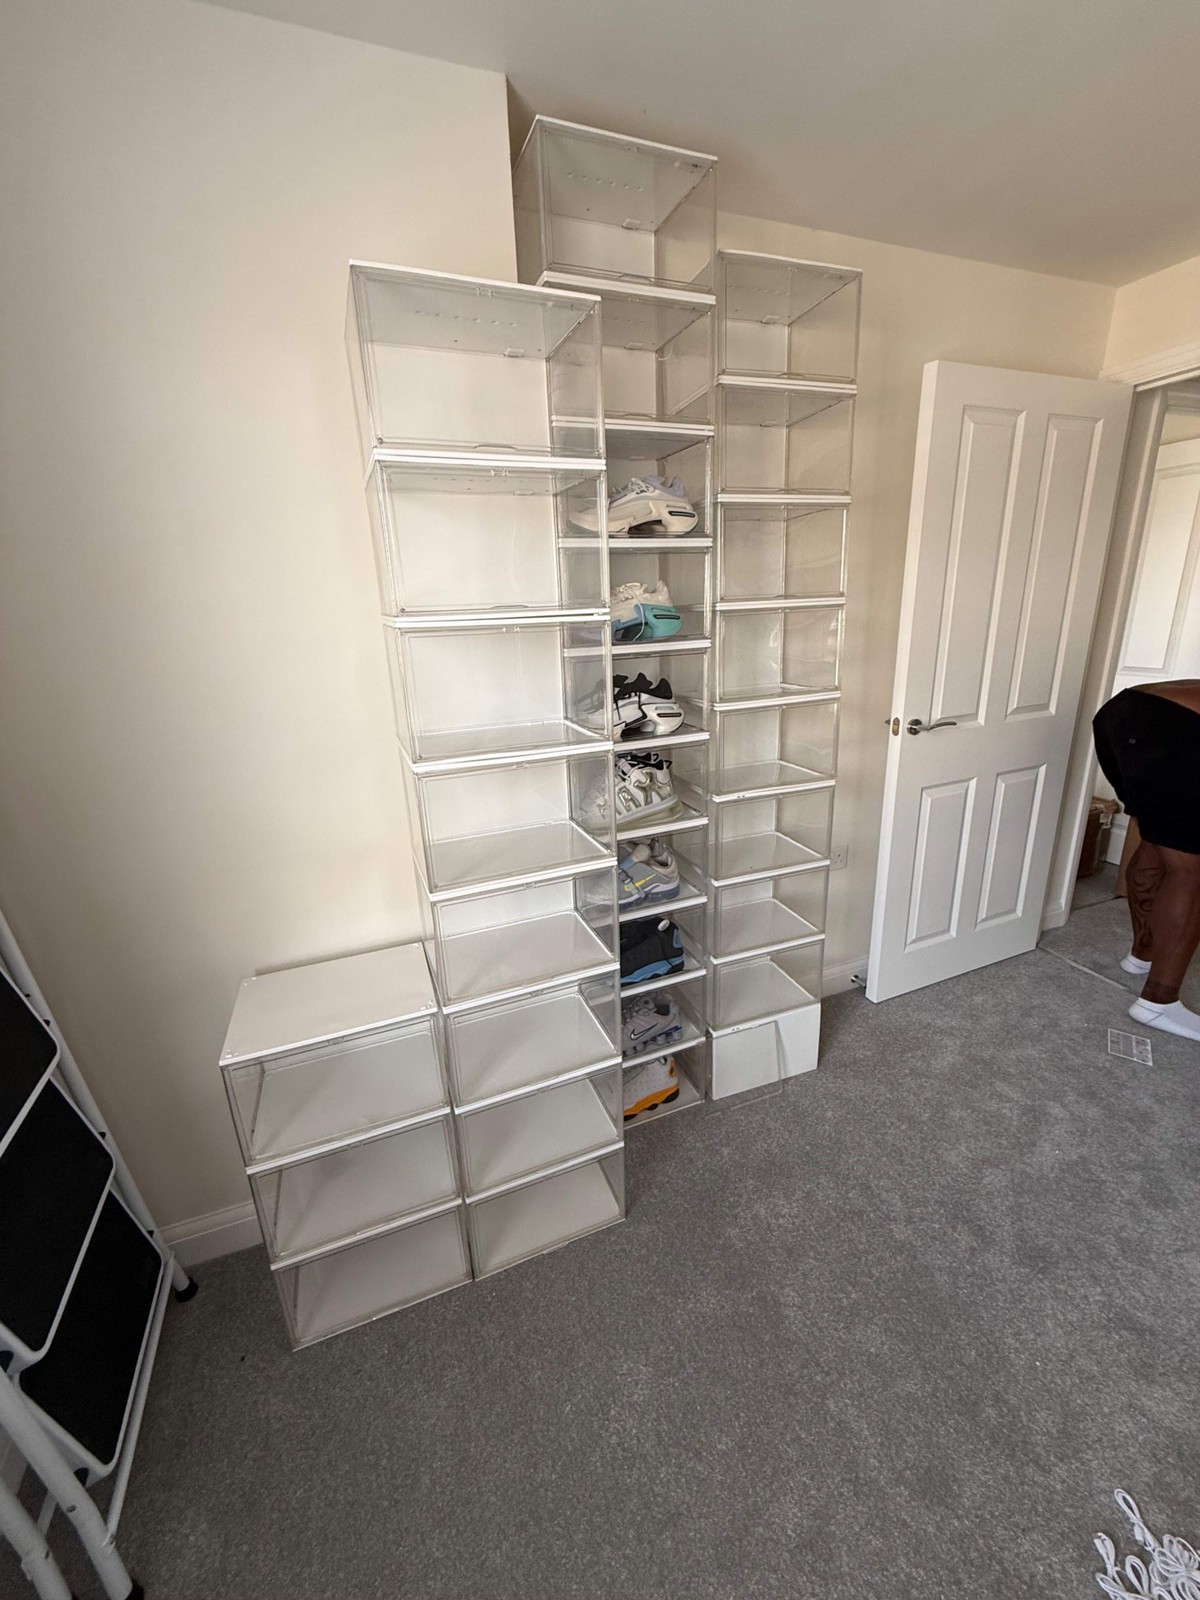
Loaded with sneakers or figures, the wall becomes the room’s focal point. Because each box is individually lit, there are no dark corners — every item gets the same light.
One exception: oversized pieces — helmets, statues, 1:4-scale figures — will not fit the standard grid. For those, the extra-large acrylic display box (45×33×33 cm) works as a freestanding showcase next to the wall.
Sizing & Specs at a Glance
The main reference unit used in this install is the 26ISHM0606 LED acrylic display case:
- Main model size: 36 × 22 × 27 cm per box
- Construction: transparent acrylic body, magnetic front closure
- Lighting: rear LED panel, USB-powered, daisy-chain capable
- Power: 2 USB ports per panel (in/out), runs off one 1000W charging station per ~10 columns
- Stacking: container-style interlock, no extra hardware between boxes
Build Your LED Wall: Shop the Lighting System
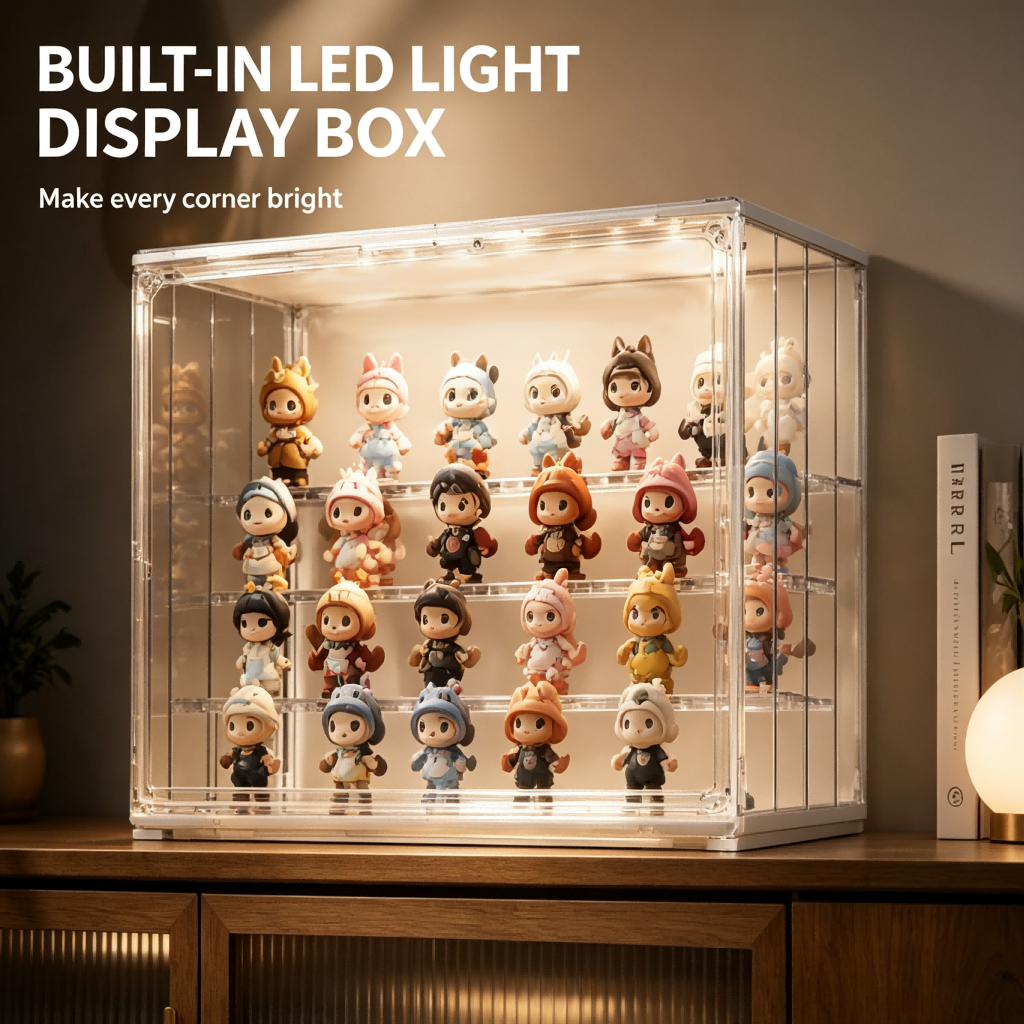


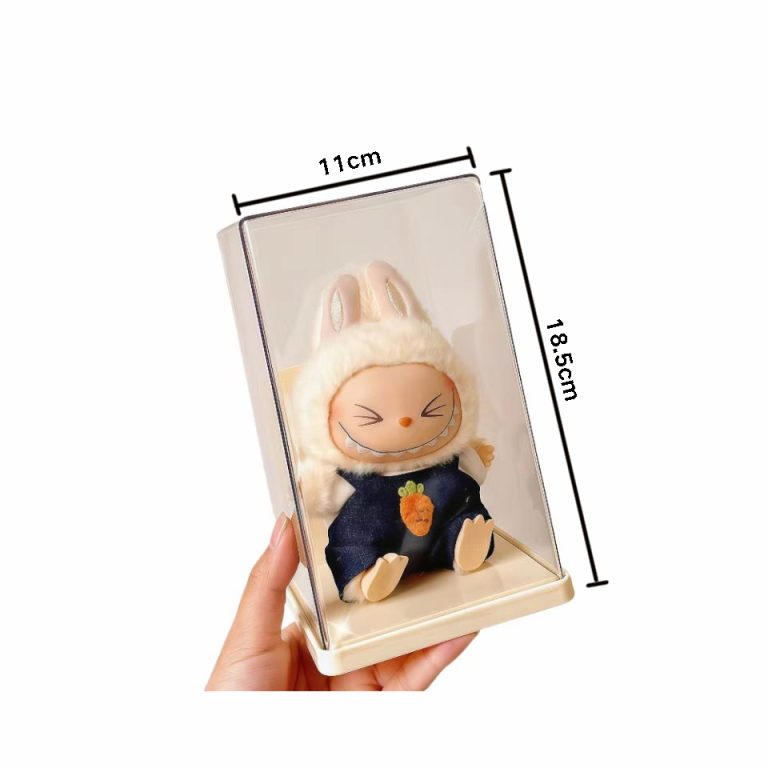
For single centerpiece figures and blind-box grails that deserve their own spotlight, the 360° spinning showcase for blind-box figures is a popular desktop companion to a full wall.
When to Go Custom: Color & Logo
Standard boxes are transparent — and that standard version is in stock and ready to ship with no production wait. If you want more than clear acrylic, orders of 500+ units can customize the frame color, add a printed logo, or adjust dimensions for a specific collection. The box below shows a black-frame version with a client logo — a common custom look for sneaker boutiques, collector clubs, and brand activations.
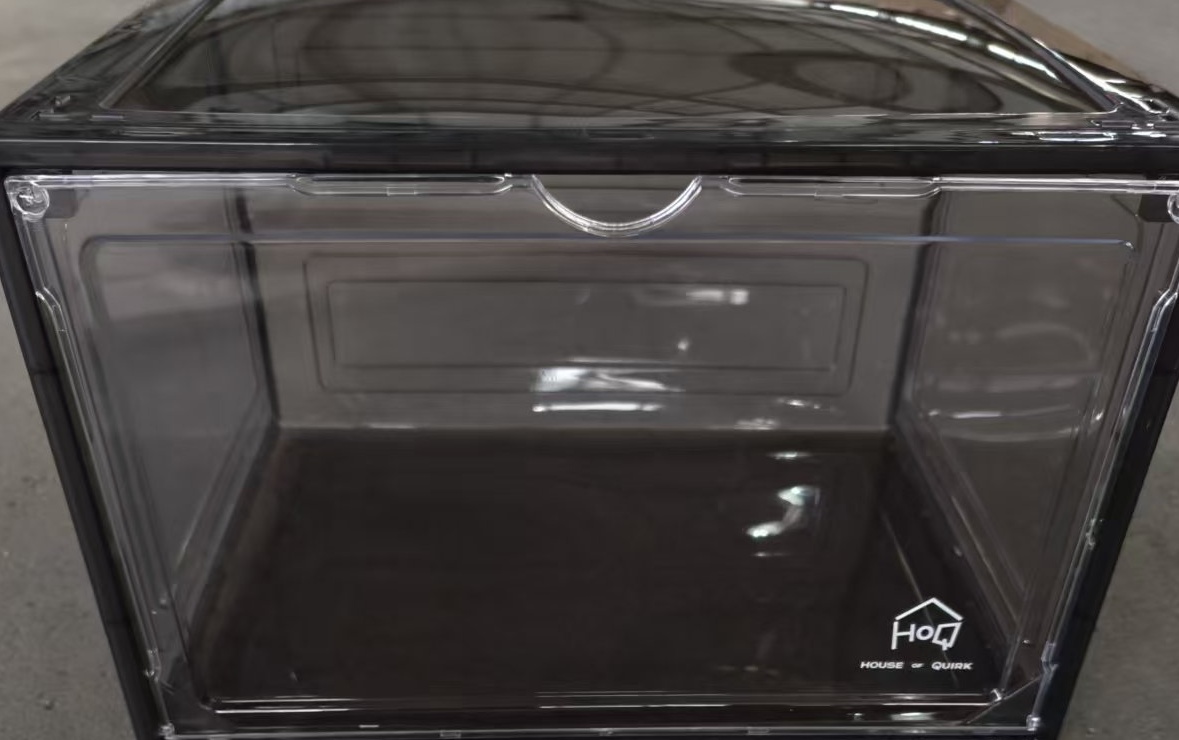
For custom pricing, lead time, and specs, send an inquiry with your box count and design requirements.
FAQ
How many LED boxes can one charging station power?
A 10-port 1000W station runs up to 10 columns — easily 30–50 boxes depending on your grid. The limiting factor is port count, not power; LED panels draw only a few watts each.
Do I need an electrician?
No. The system plugs into one standard wall outlet. If you can hang a shelf and plug in a phone charger, you can install this wall.
Can the wall run 24/7?
Yes. The panels are rated for continuous operation, and a full 20-box grid typically draws under 150W — less than most desk lamps. Many collectors leave the wall lit as ambient lighting.
Will the sealed boxes protect figures from dust?
Yes — the magnetic front closure creates a tight seal that keeps dust out much better than open shelving, which is the main reason collectors switch to acrylic display boxes.
Can I move or expand the wall later?
Yes. Boxes unstack and panels unmount without wall damage, so the wall can grow with your collection or move to a new room.
What is the minimum order for custom colors or logos?
Custom frame colors and logo printing typically start at 500 units. Below that, you get the standard transparent finish — which is in stock and ships right away, so small orders face no production delay.
See It in Action: Clap-Activated LED Display Box
Want to see how the lighting behaves before committing to a full wall? The clip below shows the 3-tier desktop version of the same LED acrylic box system — each tier lights up on a clap, so you can switch the display between a subtle glow and a fully lit showcase without touching anything. It is the same panel-and-USB architecture covered in the steps above, scaled down for desks and shelves.
Clap-activated 3-tier LED acrylic display box with collectible figures
Interested in the clap-activated version for your collection or your store? Send us an inquiry with the tier count and box size you need, or browse the full range in our LED acrylic display box guide.

One Comment